How to Season Your Grill in 4 easy steps
In case you just bought a new grill and haven’t been told, this very important and very crucial piece of advice: Season your grill!
“Season your grill!” is one of the statements you hear the most from your friends, family, and even the internet, when you first buy a grill, and as tiresome or confusing it can be as to why everyone tells you this, it’s for a good cause.
Seasoning your grill has many benefits, like:
Removing contaminants.
Keeping rust at bay.
stoping food from sticking, thus making the cleaning process easier.
Those benefits alone should be more than enough for you to go on seasoning your grill, but wait, how do you go on about seasoning your grill?. From what items you’ll be needing, to how to get the deed done, we’ve got you covered!
Items you’ll be using:
we made this easy to do by choosing items most likely you will find lying around your house.
Grill brush:
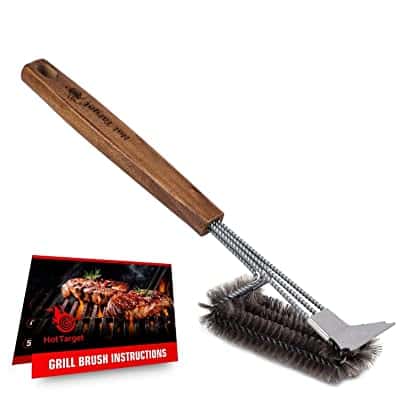
This item will be used prior to any actual seasoning gets done. If you’re debating whether you should invest in a grill brush or not, we’ll give you a short and quick answer: yes, you should!. You can find them for cheap online
To get rid of any grease, leftover food, or sauces, and clean a grill properly- heat and friction are needed, and that’s where the grill brush comes in.
However, if you can’t bother to go buy one right now and want to get to cleaning, you can substitute a grill brush with a soft bristle brush or a crumbled piece of heavy-duty aluminum foil.
2- Cooking oil:
The great thing about this is that you can use any oil available in your kitchen!
You can use sunflower oil, avocado oil, vegetable oil, you get the drill. But the most recommended cooking oils to use are canola oil and peanut oil because they each have a smoke point over 450° F, and incidentally: seasoning your grill involves the use of high heat.
3- Spray bottle or small bowl:
You can use either a spray bottle or a small bowl, whichever is available at your home. You’ll be pouring the amount of cooking oil you’ll be using to season your grill onto one of the mentioned items.
We’re warning you, though, that if the cooking oil you’ll be using is vegetable oil, make sure it is not in a spray can form as it is prone to exploding.
4- Paper towels or cloth:
Again, whichever one is available or you prefer using, both paper towels or a dry and clean cloth get the job done just fine.
As you might have noticed, most things that you’ll be using are tools that you already have in the comfort of your home, isn’t that great? Now, let’s find out how to season a grill.
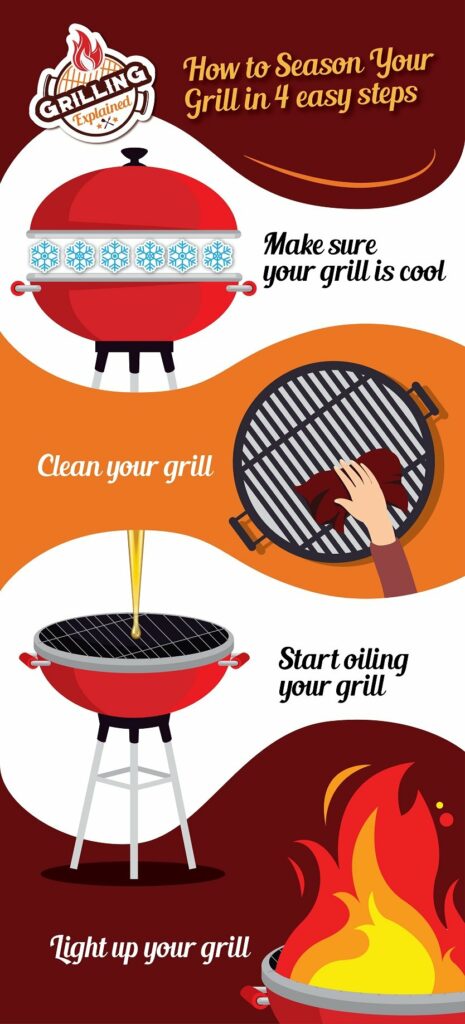
- Make sure your grill is cool
Before starting with the actual seasoning, there are 2 things we need to do, the first one of them being that we wait for the grill to cool down if you’ve just used it. Don’t burn your fingers, folks
- Clean your grill
This is the second step in our pre-seasoning, and whether you’ve just used your grill or it’s brand new, it is still recommended.
If you’ve just used your grill and waited for it to cool down, then it’s likely that there is residue left on top of your grill. With a grill brush (or either of the two alternatives mentioned), scrape off the pieces of burnt and/ or stuck food from the grates.
Next, if you’d like to just do just a quick and easy cleaning while you’re already getting some work done: use a brush and warm soapy water to clean both the outside and the inside of your grill to remove any layers of black smoke that may have accumulated.
If your grill is brand new, it will most likely have dust, metal shavings, and even chemicals all over it; use water alone to do the first couple wipes that will remove all the dirt that may have accumulated on your grill, then make sure to pass over it again with a clean, dry towel to make sure all dirt has been cleaned off.
Remember to let your recently- cleaned grills dry completely (even if you didn’t do a thorough clean). If there is still water on or inside your grill, it will weaken it and rust will start forming. - Get to oiling
Now, this is where the seasoning actually gets started.
Bring in the cooking oil that you’ve decided to use, and pour some of the oil into the spray bottle or small bowl you’ll be using.
If you’re using a spray bottle: spray the grates of your grill with the newly-filled spray bottle, and make sure to get all sides covered with oil. Once you’re done with that, use paper towels or a cloth to remove the excess oil.
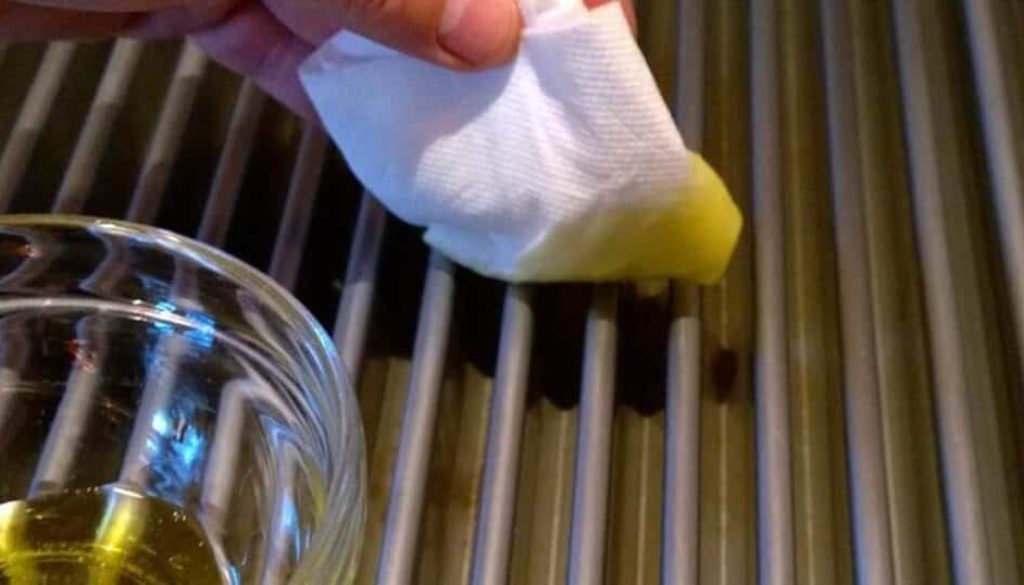
If you’re using a small bowl: dip a handful of paper towels or your clean cloth into the cooking oil you’ve poured in the bowl, then start coating the grill grates, making sure to have all places fully covered. Once done, again, use paper towels or a cloth (different from the ones used, of course) to wipe off any of the excess oil.
The end result should be an even, thinly-spread coating of oil on your grill grates. - Light up your grill
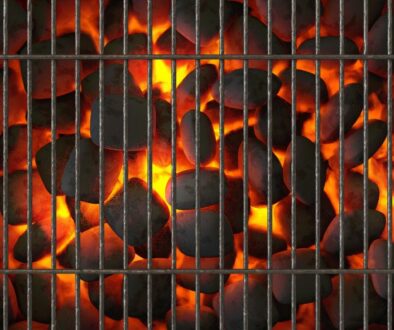
Turn your grill on to a high temperature, and allow the oil to cook for 30 minutes and over, or until the oil starts to smoke or burn.
How to know if the oil is doing anything? Well, keep an eye on the grill! As the minutes pass, the grill should begin darkening, which is a sign that the oil is doing its magic and leaving flavor on your grill (or in case of cast iron grills: a black, slick sheen will form- which shows that a nonstick surface is developing)
Once the time is up, or the oil started to smoke, or your grill turned a color dark enough for you, turn off your grill and allow it to cool off.
A big plus of this step is that you’re killing two birds with one stone unknowingly if your grill is brand new: the high heat will burn off any of the excess chemicals that could have left a chemical taste in your food for the first couple of uses.
Congratulations! You’ve successfully seasoned your grill to perfection, and it is now ready to make an appearance in your next BBQ party as a scene- stealer to make you all some savory dishes! Remember to keep following this routine of cleaning, oiling, and heating regularly to keep your grill cleaned, ready for grilling, and last for many years.

