Clean your smoker with household items
Hosting BBQ parties is fun; the family and friends get together for a good time and bond over tasty food. However, the hassle that follows all parties can be so tiresome that we’re all guilty of having put it off at least once or twice in our lives. Yes, I’m talking about cleaning your smoker.
With so many types of smokers available on the market, and so many different tools and ways to clean them- it can be quite overwhelming and troublesome. Should you invest in certain items that might or might not work on your smoker? Or should you just burn off any excess grime and put it away for the next hang out at your house? Truth is, you don’t have to do any of those
We’re going to tell you how to clean your smoker with household items you already own, and we’ll also give you some tips on how to maintain your smoker so that it lasts longer.
What you’ll need:
- Soapy mixture
- A cloth
- Bristle brush
- Vinegar
- Degreaser detergent
- Cooking oil
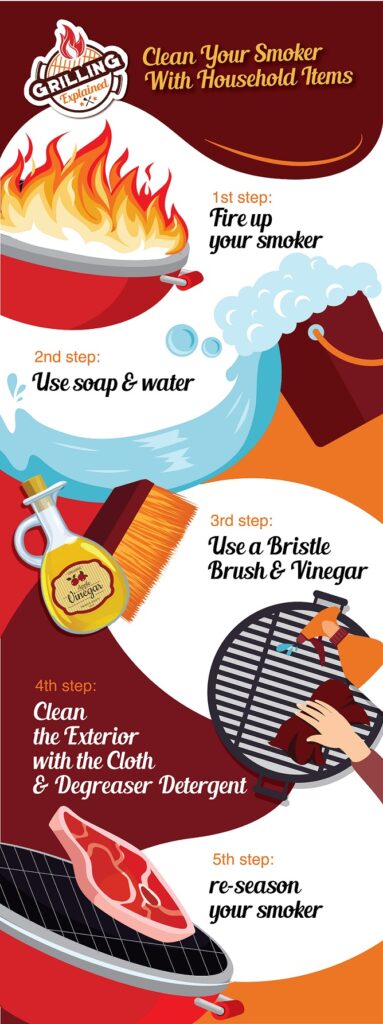
1st STEP: Fire up your smoker
while this step is optional, it will make the cleaning process of your smoker faster and easier since it will be burning off some of the residue left over from yesterday’s BBQ party.
Simply add wood, charcoal, or whatever you use for your smoker, light it up, and let the fire do its’ work! Remember to stay attentive during this process in case of any mishaps, and open the vents to let air flow.
Once done, let your smoker cool down completely and continue with your cleaning.
2nd STEP: Use soap and water
Pour liquid dish soap from your kitchen into water and mix them together in a small bucket. This mixture will be used to clean the smoker’s cooking racks/ grills and the ash box.
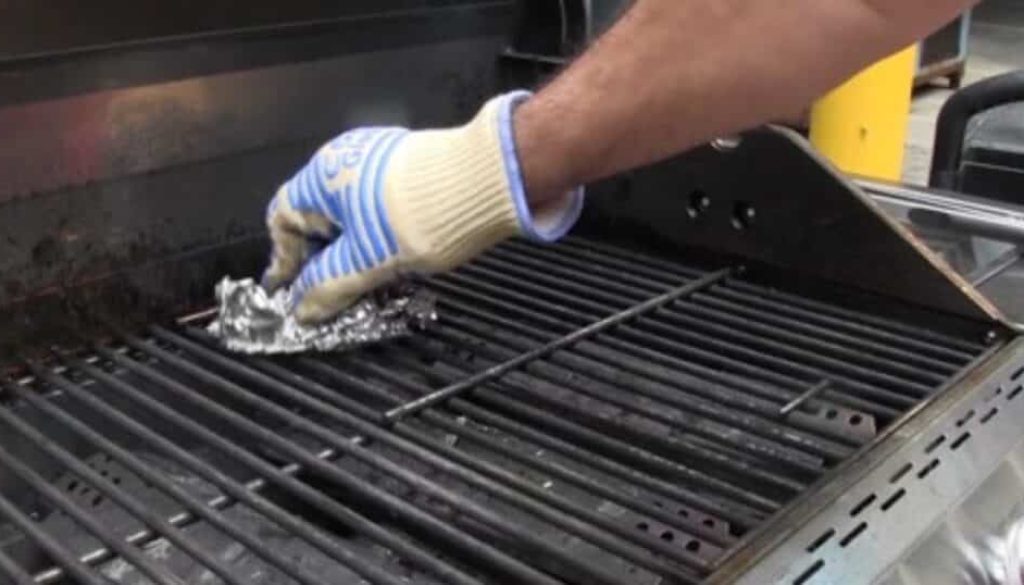
- Cooking Rack: the cooking rack of your smoker can get very dirty since it’s where the meat and vegetables are placed on, but it’s also very easy to clean! Use the soapy mixture and cloth to clean it, and if there is still residue that you weren’t able to wipe off, let the racks/ grills soak in water for 20 to 30 minutes, then continue cleaning.
- Ash Box: depending on the type of smoker you own, remove the ash box and dump the ashes in the trash. After that, wash it with the soapy mixture and ta-da! You’re done.
3rd STEP: Bring in the Bristle Brush and Vinegar
These two will come in handy to clean one of the trickier parts of your smoker: the chamber.
Many recommend using a grill scraper for this specific part, however, if you don’t have one nor want to invest in one- that is absolutely not a problem: a bristle brush gets the job done just as good! And if you don’t have a bristle brush near you either, you can use a wire brush, a tooth brush, or anything else you can find to get the dirt scraped right off.
Once you’re done scraping the walls of the chamber, use vinegar (we recommend apple cider vinegar, but white vinegar works as well) to help soften the grease; simply spray it or pour it on the problem areas and leave it for a few minutes, and lastly wipe off the walls with a warm, dampened cloth.
TIP: If there are rust spots on your smoker and you would like to get rid of them, you can polish them with your brush along with sandpaper for metal, or simply use high-temperature paint or spray over them if the rusts are on the exterior.
4th STEP: Clean the Exterior with the Cloth and Degreaser Detergent
Don’t worry, you’re almost done!
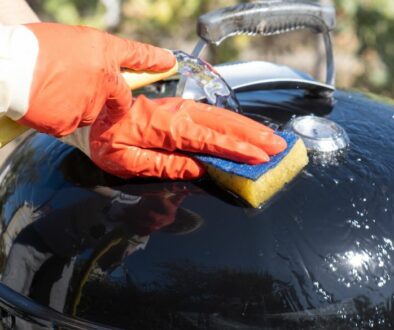
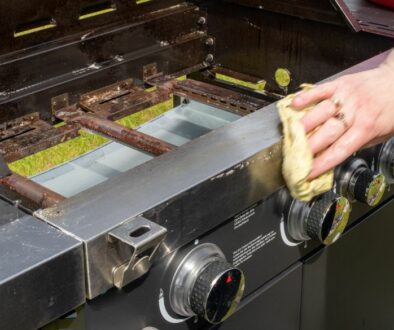
While a quick wipe down with a damp cloth works just fine, you can also use your oven cleaner and a cloth to make sure there are no stains left on the outside.
Don’t forget to do a quick wipe over the thermometer with the cloth and degreaser!
5th STEP: re-season
Now that you’re done with this thorough cleaning session, it’s important you season your smoker again for the next grilling session.
Use any cooking oil available to pour inside, and make sure it covers the entire surface! Once you’re done with that, fire up your smoker to 250F- 270F, anything between works fine.
You might ask yourself: “I just cleaned my smoker- why should I oil it?”. Well, the reason you should oil the inside of your smoker and let it boil is because the oil will be acting as a shield that will stop water from rusting your smoker- however, if you turn the heat up any higher than 270F in the process, you could burn off or damage your smoker’s paint. So, be careful!
You don’t need to repeat this whole cleaning process after every time you use the smoker- but for the sake of your smoker’s life and your wallet, it is important that you do a little cleanup session before or after each use to keep its’ performance quality high and last longer.
Some tips to keep your smoker clean
1- Re-oil the inside of your smoker every now and then to keep it from rusting.
2- Make sure to throw out the ashes after every use to prevent rust from happening.
3- Once the smoker is cooled down, wipe off any spilled sauces with a damp cloth.
4- Use a nylon bristle brush (or a grill brush if you have one) to brush the racks/ grates.
5- Scrape out any dried food or grease stuck on the sides of the chamber.
Smokers are our best friends once BBQ- season rolls in, but our worst enemies once it’s done, but hopefully with our guide- things will be just a little bit easier for you! Remember to do a deep- cleanse at least once a year, and help your smoker last longer. Happy grilling!

