How to Meal Prep for a Week Using the Grill
I love meal prep. It’s a great way to save money, it makes your week easier, and it’s just so much fun to do! But sometimes I’m pressed for time and don’t have time for all the chopping and pan-frying that meal prep usually involves. That’s where the grill comes in: It makes cooking faster and easier than using pans on the stovetop or oven. This post will show you how easy it is to make everything from tacos to scallops by grilling them up instead of baking or frying them off at home.
Make a grocery list
The first step in meal prepping is making a grocery list. You want to make sure you have all the ingredients you need to make the meals you have chosen. Make sure you have enough of all the ingredients and write down everything on your list.
Make sure that when you go shopping, none of the food goes bad by taking into account:
- How long will it last? (use expiry dates)
- What should be eaten first? (frozen veggies are good for longer than fresh veggies)
Choose your meals
Before you get started on your grill, it’s important to choose the right meals for your menu. To make sure that you have enough time at the end of the week, first decide which meals can be prepared ahead of time. This way, all that’s left is putting them on the grill when it’s time to eat.
Next, choose healthy and tasty meals that are easy to make. You’ll want to keep things simple so as not to spend too much time in front of a hot stove or even worse—on cleaning duty!
Meat is a high-protein food that provides all the necessary nutrients for the body, on the other hand, vegetables are rich in vitamins and minerals, which keep us strong and healthy, they also help prevent many diseases, that is why our recommendation is to make a combination of different types of meat with assorted vegetables, this way you can keep your body strong and healthy without having to stop eating tasty foods
Prepare your grill
The first step in your meal prep is to clean and preheat the grill. Before you start cooking, make sure your grill is free of any dirt or debris. You’ll want it to be clean and grease-free before you begin grilling.
If possible, use a wire brush to remove any caked-on pieces of food from the grill surface—this can help prevent food from sticking during cooking. Then wipe down the inside of the lid with a paper towel or rag so that no residual grease remains on its surface either (if you’re using an electric griller).
Once everything’s been cleaned and wiped down, fire up your grill! Make sure it’s on high heat for at least half an hour before you begin cooking; this will allow all surfaces within reachable distance from where you’re standing outside near an open window above countertops where small children live closer together than usual tonight
Chop your veggies and prep your meat
Prepare a variety of vegetables for grilling. These can be chopped into bite-sized pieces and should include at least one or two different types (for example, mushrooms, bell peppers, onions). You’ll also want to prepare some meat for grilling. For the best results, cut this into bite-sized pieces as well; if you don’t have time for that step before placing the meat on the grill, don’t worry—just make sure it’s sliced thin enough that it cooks through in a relatively short order (about 15 minutes).
Chop all your ingredients into similar sizes so they cook evenly while on the grill! Marinate them if you feel like it—a simple marinade made with olive oil and salt is perfectly sufficient here.
Grill on high heat until the veggies have grill marks and the meat is cooked through
Once your grill is heated up, it’s time to start grilling.
- Grill veggies until they have grill marks: Place the vegetables on the grill and leave them alone for 5-8 minutes, flipping occasionally. Monitor the temperature of your grill with a thermometer so that you can avoid overcooking the vegetables (they should be lightly charred).
- Grill meat until it is cooked through place meat on the opposite side from veggies and cook for 10-12 minutes, turning every 2-3 minutes to ensure even cooking. Use a thermometer to make sure that your meat reaches an internal temperature of at least 145°F before removing it from heat or else bacteria could grow in between cooking times and cause foodborne illness—which would be quite unfortunate given all of this work!
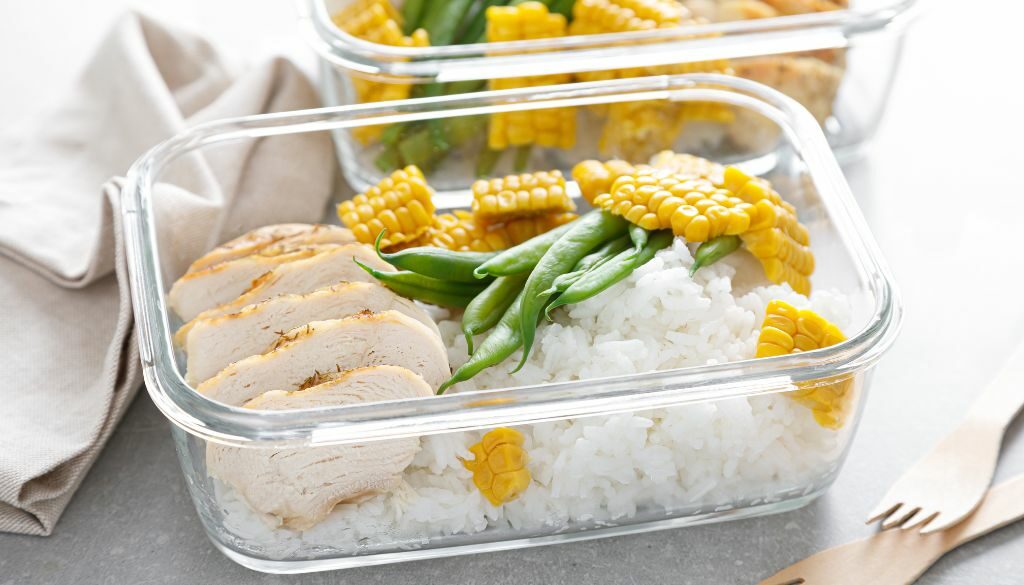
Divide up each batch into meal-size portions and package them in airtight containers or freezer bags. Stack them in the fridge or freezer so they’re easy to grab on your way out the door!
You’ve scrubbed the grill, prepped all your ingredients, and cooked up a batch of yummy food. Now it’s time to store it! For maximum freshness and convenience, divide up each batch into meal-size portions and package them in airtight containers or freezer bags. Stack them in the fridge or freezer so they’re easy to grab on your way out the door!
If you plan on taking these meals with you for lunch at work, consider using reusable ziplock bags. They’re great for reducing waste (and who doesn’t want that?) but also come in handy if you need to reheat something quickly by popping it into the microwave or oven! This can help save time on busy days when life gets hectic; just pull out one of these handy bags instead of having to use the non-stick spray every single time when cooking something up again later on down the road over here at home base. You can vary between chicken meat and fish, each of these meats has different nutrients necessary for the body
Using the grill can make meal prep easy, quick, and convenient!
Grilling is one of the most convenient ways to cook. It’s quick, easy, and healthy. You can make a variety of foods including:
- poultry (chicken breasts)
- seafood (salmon steaks)
- fish (trout fillets)
- red meat (steak patties), and more! And you can season them however you want too! Here are some examples:
- marinate your foods with olive oil and lemon juice before grilling them for an Italian flavor ;
- use spices like cumin powder or paprika for a Middle Eastern twist; or
- season your meats with salt and pepper for a simple yet delicious meal.
Now that you know how to meal prep for a week, why not give it a try? You’ll be able to make your own healthy, delicious meals without having to leave the comfort of your own home. And if you don’t feel like grilling every single day or night, don’t worry—you can still use these tips with other methods of cooking!


