Smoking Basics: What you Should Know
When it comes to smoking, the one thing we are all collectively trying to achieve is that perfect smoky flavor that can only be achieved as a result of burning wood and coals in your smoker. But, how do you do that? How can you smoke meat, and get it right every time?
Keep reading to find out the basics of smoking!
What is smoking?
Smoking is the process of cooking foods (like ribs, pork, etc.) in low temperatures and slow timings, and by using smoke and indirect heat. The smoke is the star of the show, as it gives flavor to your dish and tenderizes the meats.
Invest in a digital and wireless meat thermometer
Smoking is a long progress, and a big (quite possibly the biggest part) of it consists of leaving the meat inside the enclosed device, where heat is flowing all around.
How are you going to know what the internal temperature of your food is? Or if there are any sudden flare- ups?
This is where a digital meat thermometer comes in. This is surely an investment you would never regret (you actually might just love yourself for it); insert the probes into your meat, close the lid, and wait for the information of the temperature to be sent through the cable to the transmitter, which will then a signal to the receiver, which would be your phone.
You wouldn’t need to keep opening the lid to check for any troubles!
Get a good pair of heat- resistant BBQ gloves
When you’re working with a smoker, you are seeking to work close and personal with heat and enclosed spaces.
Enclosed spaces, heat, flames… do you see the pattern here?
Keep yourself safe from any sizzling sauces coming at you, and find yourself a pair of high quality heat- resistant BBQ gloves. Preferably gloves that are made of silicone and explicitly state they handle temperatures of 500° F and above.
Better to be safe, than to be sorry!
Choose the right meat cuts for smoking
Since smoking is known to be slightly tricky process, it should not be a surprise that (if done correctly)- your resulting dish will be rewarding.
The most loved and the most common cuts of meat people go for when smoking are:
- Beef brisket:
The beef brisket is one of, if not the most, famous cuts for smoking. To really make the most out of your experience, make sure you purchase a cut that has is tender and has a good amount of marbling as well as a healthy amount of fat layer that will help keep the meat moist. To know if it is tender, simply bend it, and as far as it bends shows how tender it’ll remain once cooked.
- Ribs:
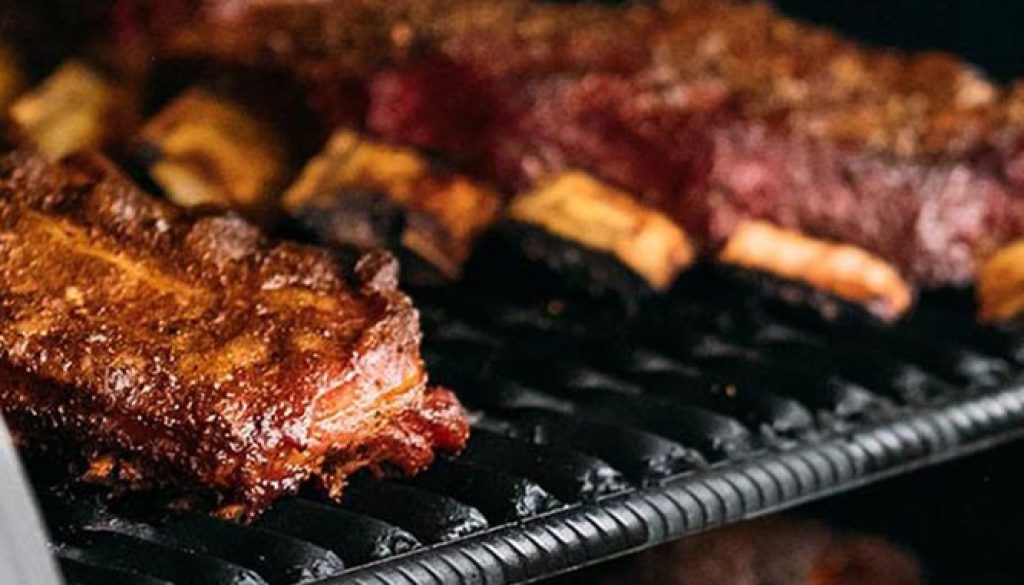
Ah, ribs. Everyone’s go- to. Whether it’s pork ribs or beef ribs, they’re known to be easy to smoke. Simply remove the membrane, rub them with your favorite rub, and smoke. Your result should be tender and tasty ribs, ready to be enjoyed.
Despite the cuts mentioned being the most known by people, you should know that other meats, like a whole chicken or leg of a lamb, can also be smoked.
However, if you’re still trying to get the hang of smoking meat and want to start slow, safe, and wallet- friendly- take these points into consideration:
- Meats with more fat and many connective tissues are great for smoking.
- Cuts of meat, like tenderloins and any lean roast, are best to be avoided when smoking as they are known to dry out in the process.
- Start with small cuts, like pork shoulder roasts, before going onto the bigger things (like brisket and chicken).
Pick the right rubs
There are two types of rubs that can play a big part in your smoking process, and if done properly they will yield nothing but great results: dry rubs and wet rubs.
- A dry rub is made up of dry ingredients, such as herbs and spices, and it is applied onto the meat as it is (some like to lather a bit of oil before applying the dry rub, but it not entirely necessary). Your food will have a result of a great crusty exterior that is full of flavor, and components like salt will help lock in the moisture.
You can buy pre-made dry rubs at a supermarket, or make your own at home- simply put together your favorite spices and herbs (like smoked paprika, garlic powder, and more!) in a small container and mix them together. And if you would like to keep it old-school, just go with the familiar mix of black pepper and kosher salt.
- A wet rub is made up of the dry ingredients plus a wet ingredient; mixing the spices and herbs with the wet ingredient will result in a paste-like mixture. They can be applied to the meat easier than a dry rub, and the result will be a dish full of moistness and flavor.
Many use mustard, oil, yogurt, and more as the wet ingredient they’d like to add to their rub.
There are a few things we would like to bring your attention to:
- If you decide to use sugar in the rubs (whether dry or wet), make sure you use it in very low amounts as sugar is known to caramelize and leads to burnt food when exposed to high heat due to its’ reaction with fire.
- It is recommended you allow your meats to soak in the rubs for at least 15 minutes up to 2 hours or so, as rubs left to soak for long periods of time (we’re talking over 10 hours and overnight), they will become mushy and like a glaze.
- Pay attention to the size and thickness of the meat you’ll be smoking. If you’re using thick cuts like skirt steak, it’s better to use a wet rub that will lock in more moisture, and allow it to sit for a long period- say 2 to 6 hours, so that the meat can soak in the rub. If you leave it for any longer than necessary for your thick-cut, the rub will too become pasty and mushy.
Choose the right wood for your smoker
In case you didn’t know- what gives your food the traditional smoky flavor is the wood you put in to burn. People tend to apply the wood with the coals as an additional item to give your food flavor, rather than have the wood be the main element that will cook your food.
You might think that all woods are the same or give the same results, but actually: it is known by many that different woods can give slightly different flavors to the smoke.
Some of the woods most commonly known for their flavor are:
- Pecan wood, applewood, cherry wood: they add a sweet taste to the smoke.
- Maple wood: this wood adds a flavor that is mild and sweet, and works great with vegetables and poultry.
- Hickory wood: gives a much stronger smoky flavor, and is best used with thick cuts of meat, like pork butt.
- Mesquite wood: gives out the strongest smoke flavor to your meat, and is mostly used when smoking dark meats.
Pick the right coals to burn.
Again, the charcoal you use might have been something you would easily overlook, much like the wood.
In reality, there are certain factors you should look for when purchasing your coals- like how hot they burn and how long they last. In short, you should be looking for coals that last a long time and can produce high heat steadily.
Some of the most famous coals to use when smoking are:
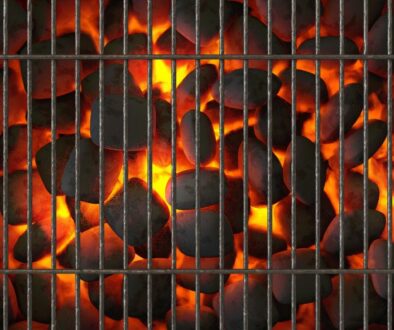
- Briquettes: if you buy the cleanest and most authentic briquettes possible, you’ll have a smooth smoking session. Briquettes are known to maintain a steady temperature throughout the smoking session and burn long. The only downside is that they take quite a long time to light.
- Lump charcoal: lump charcoal is known to be a bit fancier and less work, as it is charcoal with actual pieces of hardwood embedded into them- if you purchase this, you might as well skip adding the woods for the flavor! Lump charcoal burns longer than briquettes, and emits less ash; however, the heat and burn time also depends on the brand you’re buying and how it works with your smoker.
A little tip: once you’re done using the charcoals- store them in an empty trash can or storage bin with a tight seal to keep them protected and safe from contamination.
Use a water pan.
Many suggest that if you’re worried about the meat going dry as it cooks, spray with some water inside a spray bottle.
But really, there is a much easier and better solution to this: use a water pan.
When smoking, using a water pan will provide more moisture, and even out any hot spots that could burn your meat.
Simply add 2 to 3 liters of water (or whatever else you’d like to use, such as wine) into a water pan, then place it above the coal area. If you’re using an electric smoker, place the water pan over the area that releases the heat. The water pan should always be placed above the source of heat.
Get to know the flames.
When you’re smoking, you’re placing your food into an enclosed space of heat, and hoping for the best.
But if you master the elements that cause flames, you’ll learn how to prevent them and won’t have to hope anymore- you will get the food you want just how you want it.
First, you need to know that one of the main reasons behind flare-ups is oxygen. A lot of oxygen leads to coals burning faster and hotter, while less oxygen leads to coals burning slower.
To control this, you need to learn how to control the vents. The vents can be found on the top and bottom of your smoker, and they are what allow you to control the flow of the oxygen by opening and closing them to your preference- which in turn increases and decreases the flow accordingly.
To lower the temperature, close the vents slowly. This will reduce the heat and oxygen.
To increase the temperature, open the vents wide. This will allow the oxygen to flood in and burn the coals hotter.
*If you close the vents to lower the temperature, keep in mind you should still keep them slightly open to allow limited airflow and not cut off the flames.
Another cause behind sudden flare-ups is excess liquids. The drippings that fall down to the coals incite flare-ups, so you might need to go easy on the oils and wet rubs, and cut down a bit on the fat.
Use a two- zone fire.
Even with controlled airflow and a thermometer in place, you never know what can happen. Flare-ups can be sudden, and if not taken care of, they will burn your food.
This is why we recommend smoking with the two-zone method. To follow this method, you need to pile up the lit coals on one side so that they emit high heat, and cook your food on the other side- which would be all heated up, but with no actual direct heat below it.
If you follow the two-zone method and decide to smoke your food in the area that has the direct heat and flames below it: you will be able to move the food away from the area where the flare- up is happening, and onto the indirect side. Once the flare-up has calmed down, you can place your food back over the high heat and close the lid.
Practice Patience.
Smoking is a long process that can take a lot of your time- from one hour, up to 24 hours, and even a full week.
During this time, you might feel the need to constantly check on the food, turn it over, play with it, and move it around. Or you might feel the need to cut the time short and just get to eating.
You should know that constantly opening the lid over the food to check on it, then moving it and turning it constantly will stop the cooking process from working as it should. And after the allotted time, you might notice that the food didn’t come out as it would have- had it been left alone and allowed to cook as it should have.
Another thing you need to take into consideration is that: the dish you’re cooking might not come out absolutely right the first time you’re smoking. Maybe it will be dry, or slightly burnt, or undercooked on certain sides (don’t eat those!). Have patience, keep trying, and know that practice makes perfect.
Simply start with small cuts and easy rubs, go with the coals and woods you feel work best with your smoker, and start practicing.


